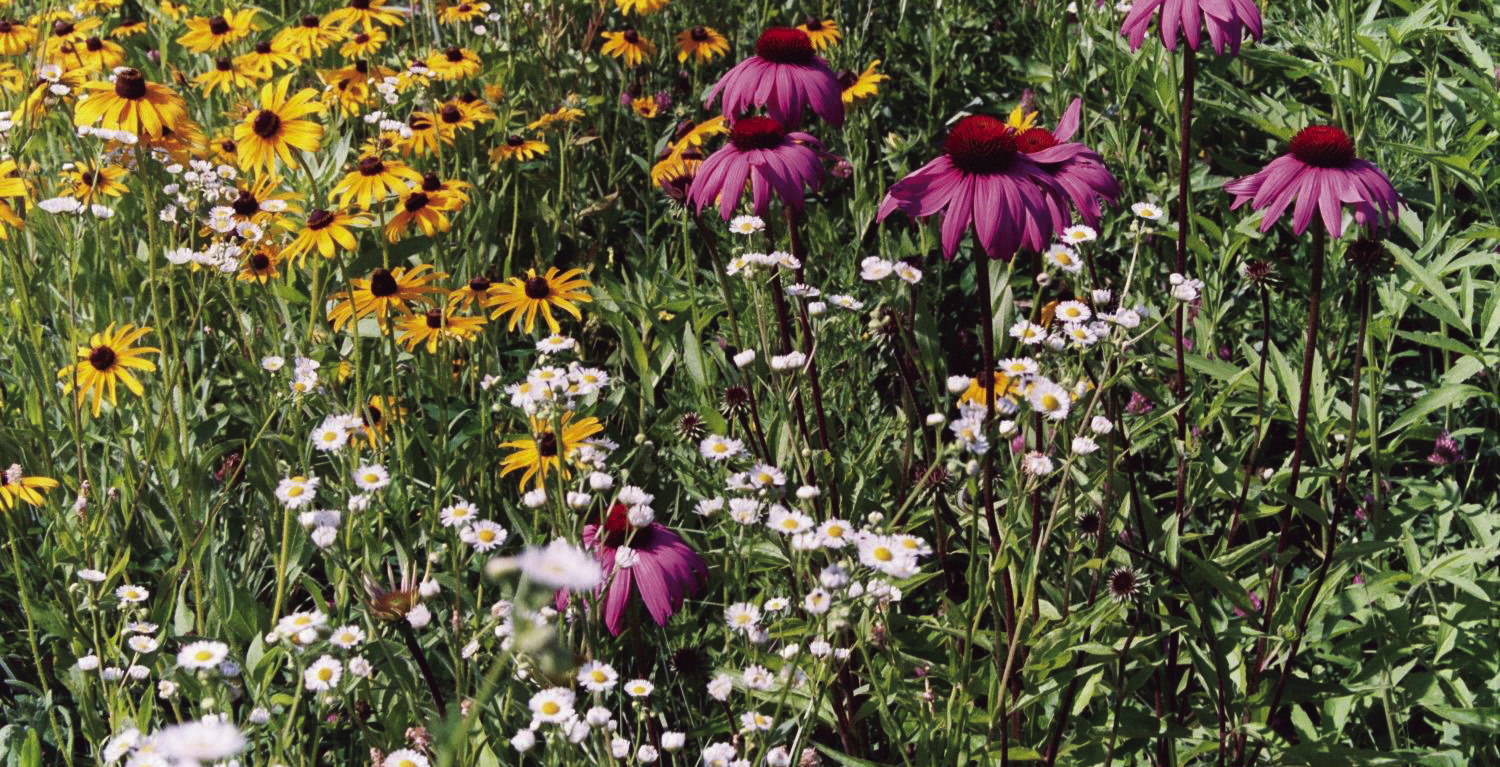
Many homeowners are beginning to incorporate more native plantings into their home landscapes. One option for doing this is by using seed, either purchased from a reputable dealer or harvested from a nearby prairie. If you’re one of those homeowners reading this now with your native prairie seed in hand and asking, “Now what?”, this article is for you.
There are a couple of ways to get these seeds up and growing. One uniting factor is that many native prairie wildflower seeds require cold, moist stratification. In horticulture, stratification is the process of treating seeds to simulate the natural conditions that the seeds must experience before germination can occur. Many native prairie seeds require exposure to cold, wet conditions. This built-in feature prevents germination of these seeds in the fall when the plants would be met by winter and likely not survive. How you plan to use your seed will dictate the method of cold stratification. Let’s examine four options for getting our native seeds to sprout.
Scatter the seeds in the fall - Autumn is a great time to spread these seeds into existing prairie or a prepared landscape bed. By sowing them now, the seeds will encounter the natural freeze/thaw cycle of winter and be ready to germinate next spring. Seeds can be scattered into standing vegetation, after a controlled burn, or on bare soil. Ideally, time your sowing before a snow event. Snow helps to push the seed down towards the soil surface for good seed-to-soil contact.
Some native seeds are very small. There may be thousands in a single tablespoon, making it difficult to scatter a pinch of seed across an acre of future prairie. That’s when a carrier can help. A carrier is an inert material used as filler to mix with the seed for more even distribution across an area. Carriers can be sawdust, soil-free potting mix, compost, rice hulls, cracked corn, or vermiculite.
Plant flats in fall - If you want to grow your native prairie seed into transplants and have a bit more control over placement, consider planting in outdoor flats or pots and use the following steps:
• While not necessary, keep plant species separate. This is mostly for the ease of keeping track of what’s what.
• Fill a 1020 flat or plastic pot with soil-free potting mix.
• Sprinkle your prairie seed onto the potting mix.
• Cover seeds with a thin layer of vermiculite.
• Press down with a small board for good seed-to-soil contact.
• Water gently, to avoid dislodging the seed.
• Label your flat with the species planted.
• Set the flats outside to be exposed to the elements.
• Place an old window screen over the top to minimize rain splash.
• Remove the window screen once germination begins in spring.
• Pot up or plant your new prairie plants.
Stratify indoors - You can also stratify in your home using a wet paper towel, coffee filter, or sand mixed with the seed. Place this in a plastic container to retain moisture and store in the refrigerator. This method allows you to have stratified seeds ready for spring sowing. Watch for mold or drying out. After five to six weeks, the seed can be spread or sown into containers.
You have no plan - That’s okay! While you develop a plan, a great place to store your prairie seed is in a paper bag in the refrigerator. Label the bag(s) so you remember what you stored. The paper bag keeps the seed dry and allows for longer storage.
Good Growing Tip of the Week: If you’re sowing seed in the fall and mixing it with a carrier, a drill with a paddle mixer attachment makes this easy work.