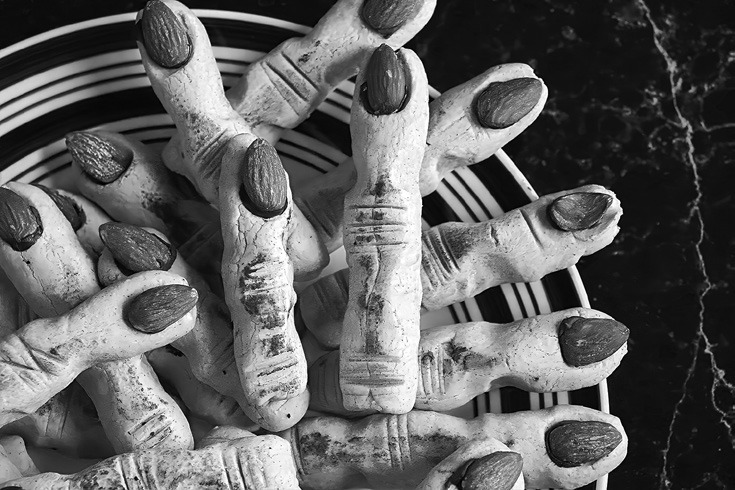
Halloween time is officially here, and I’m all about cookies that look a little spooky but taste completely delicious. These Witch Finger Cookies are made with a no-spread cookie recipe, which means all those little knuckles and creepy details stay exactly where you want them. No cookie blobs here!
This recipe is based on a recipe from the fantastic cookbook “Scare-cuterie” by Lori Castellon, a delightful guide for anyone who loves fun, festive and slightly eerie treats made into stunning spine-tingling charcuterie boards.
Bonus tip: This cookie dough isn’t just for spooky season.
Because it doesn’t spread, it’s perfect for cut-outs or shaped cookies any time of year — imagine hearts for Valentine’s Day, bunnies for spring or stars for the Fourth of July. When you find a dough this dependable, you’ll want to keep it in your recipe box right next to your favorite rolling pin.
WITCH FINGER COOKIES Yield: 32 cookies Total Time: 1 hr. 35 mins.
For the cookie dough: 1 cup butter, softened 1 1/2 cups powdered sugar 2 teaspoon vanilla extract 1 large egg 3 cups all-purpose flour 1 teaspoon salt 1 1/2 teaspoon ground cinnamon
For decorating:
Whole almonds (for fingernails) Melted chocolate, to attach nails Cocoa powder, for dusting
In a stand mixer with a paddle attachment, cream together the butter and powdered sugar until fully combined. Add the vanilla and egg, and mix until smooth and fluffy. This will take a couple of minutes. Keep mixing.
In a separate bowl, whisk together the flour, salt and cinnamon (or cocoa if making the chocolate version, or spices for chai version, recipes below). Slowly add to the butter mixture and mix on medium until dough forms.
Wrap the dough tightly in plastic wrap and chill in the refrigerator for one hour.
Shaping the Witch Fingers:
Preheat your oven to 350 F and line a baking sheet with parchment paper.
Scoop about 1 tablespoon of dough and roll it into a finger-shaped rope, roughly 5 inches long. Place on the prepared sheet. Pinch the dough at two points along each finger to make knuckles. Use a butter knife to score light creases for knuckle detail.
Press an almond gently at the tip of each finger for the nail. Remove the almond before baking so the indentation stays.
Bake for 10-15 minutes, until just set. Cool completely on a wire rack.
Finishing Touch:
Dust fingers lightly with cocoa powder for a creepy effect. Reattach almonds with a small dot of melted chocolate to complete your spooky nails.
Optional flavor variations:
Chocolate: Replace 1/2 cup flour with 1/2 cup unsweetened cocoa powder Chai Spice: (Pictured) add 1/2 teaspoon of almond extract when you add the vanilla. And add the following to your dry ingredients along with the flour, salt and cinnamon: 1/2 teaspoon ground ginger, 1/2 teaspoon ground cardamom, 1/4 teaspoon ground cloves, 1/4 teaspoon freshly grated nutmeg, 1/8 teaspoon ground black pepper.
Divas’ Witchy Tips:
• Keep ’em from spreading: Don’t skip the hour in the fridge! Chill that dough and keep it cool until you bake.
• Knuckle it up: Pinch, score and don’t be shy. The more detail, the creepier the fingers.
• Store like a pro: Keep in an airtight container for up to a week or freeze unbaked for last-minute haunting.
***
Lifestyle expert Patti Diamond is the penny-pinching, party-planning, recipe developer and content creator of the website Divas On A Dime — Where Frugal, Meets Fabulous! Visit Patti at www.divasonadime. com and join the conversation on Facebook at DivasOnADimeDotCom. Email Patti at divapatti@divasona dime.com
© 2025 King Features Synd., Inc.